
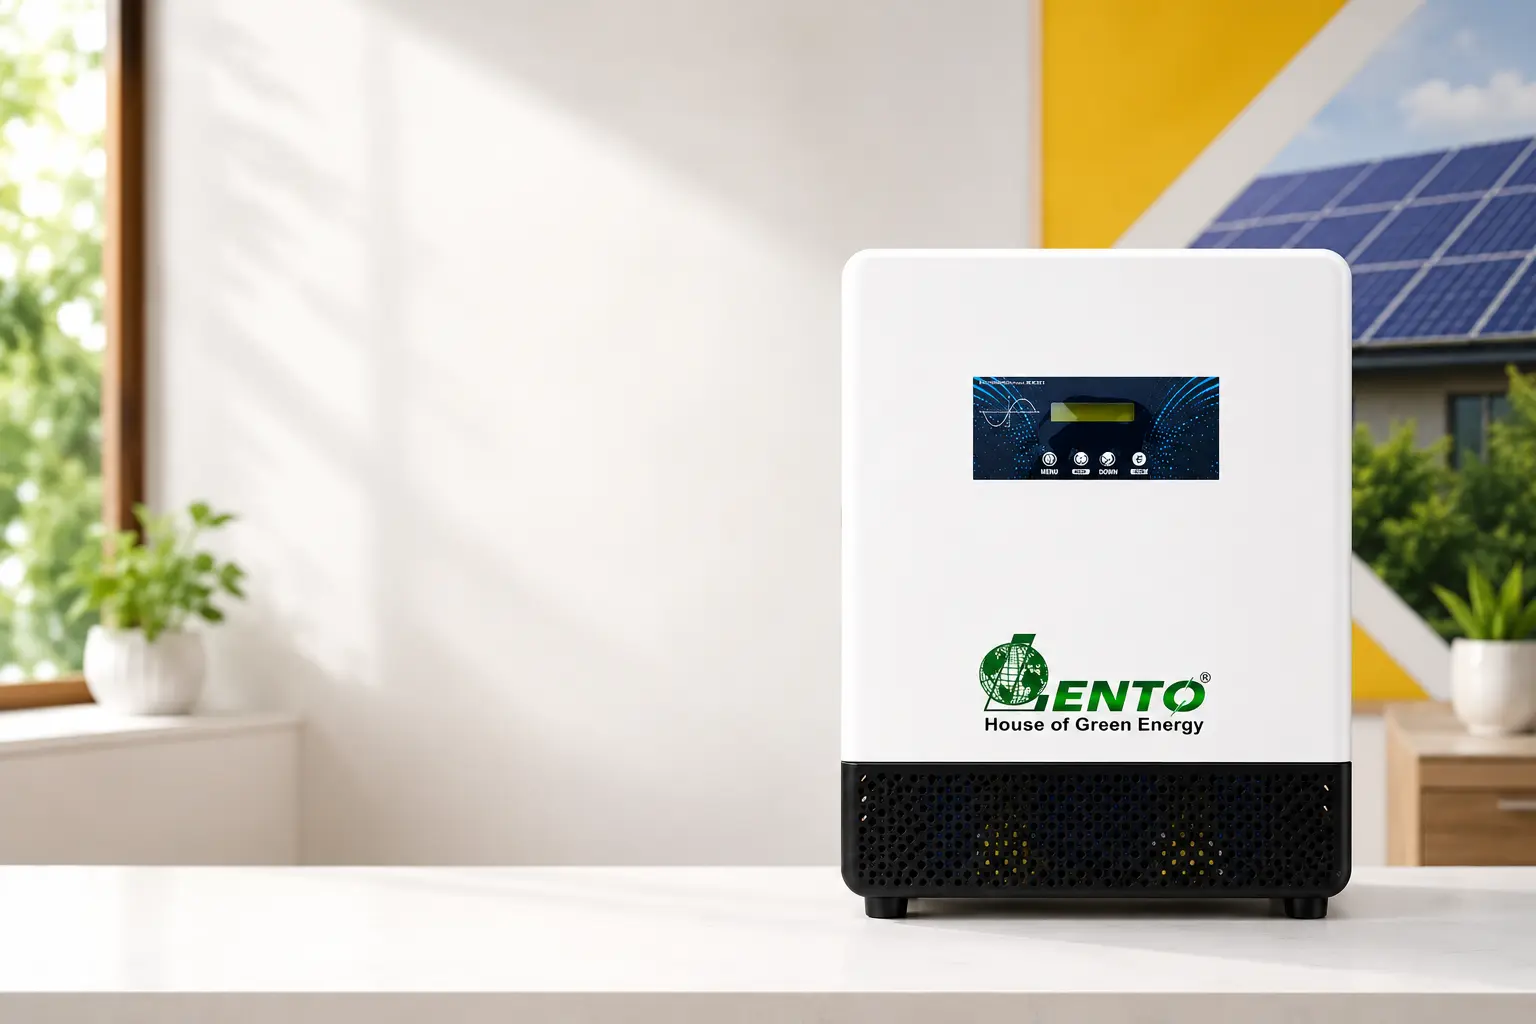
How to Install a Lento Inbuilt Lithium Battery Inverter: Step-by-Step
25 September 2026
Installing a lithium battery inverter correctly ensures safety, efficiency, and long-term reliability. This guide covers how to install Lento inbuilt lithium battery inverter, lithium inverter installation guide, inverter installation steps, sine wave inverter installation, hybrid solar inverter installation, solar inverter setup guide, MPPT inverter installation, PWM inverter installation, inverter wiring guide, lithium battery inverter setup, home inverter installation, commercial inverter installation, inverter safety precautions, inverter placement tips, 12V lithium inverter installation, 24V lithium inverter installation, 100AH battery inverter setup, off-grid solar installation, and Lento lithium inverter installation — everything you need for a smooth, safe setup.
Before You Begin: Safety First
Lithium battery inverters are generally simpler to install than traditional systems since the battery is built in, but they still involve electrical connections. We strongly recommend having a certified electrician or Lento-authorized technician handle the installation, especially for higher-capacity commercial units. Always turn off mains power before connecting any wiring, and never attempt installation in wet conditions or near flammable materials.
Step 1: Choose the Right Model for Your Needs
Before installation, confirm you have the correct model for your load requirements.
Sine wave inverter with inbuilt lithium battery
| Model | Battery Voltage (VDC) | Rated Capacity (VA) | Compatible Battery Types | Typical Applications |
|---|---|---|---|---|
| Li-ion 1415 | 12.8V | 1100 VA | Lithium Battery (100AH) | Household and commercial |
| Li-ion 2500 | 25.6V | 2100 VA | Lithium Battery (100AH) | Commercial spaces, hybrid solar |
| Li-ion 3000 | 25.6V | 2500 VA | Lithium Battery (100AH) | Commercial and household |
Hybrid solar inverter with inbuilt lithium battery (off-grid — PWM)
| Model | Battery Voltage (VDC) | Rated Capacity (VA) | Compatible Battery Types | Typical Applications |
|---|---|---|---|---|
| Li-ion Solar 1415 | 12.8VDC | 1100 VA | Lithium Battery (100AH) | Household |
| Li-ion Solar 2500 | 25.6VDC | 2100 VA | Lithium Battery (100AH) | Household |
| Li-ion Solar 3000 | 25.6VDC | 2500 VA | Lithium Battery (100AH) | Household |
Hybrid solar inverter with inbuilt lithium battery (off-grid — MPPT)
| Model | Battery Voltage (VDC) | Rated Capacity (VA) | Compatible Battery Types | Typical Applications |
|---|---|---|---|---|
| Li-ion 1100VA/12V | 12.8V | 1100 VA | Lithium Battery | Household |
| Li-ion 2100VA/24V | 25.6V | 2100 VA | Lithium Battery | Household and commercial |
| Li-ion 2500VA/24V | 25.6V | 2500 VA | Lithium Battery | Household and commercial |
Check full specifications on Lento's Solar Inverter with Inbuilt Lithium Battery (MPPT) page before purchase and installation.
Step 2: Pick the Right Placement
Install your inverter in a cool, dry, well-ventilated area away from direct sunlight, moisture, and dust. Keep at least a few inches of clearance around the unit for airflow, and avoid placing it near flammable materials or in enclosed cabinets without ventilation. Wall-mounting or placing on a stable, flat surface at a reasonable height is ideal for both household and commercial inverter installation.
Step 3: Connect the Mains Power (Input)
With mains power switched off at the source, connect the inverter's input wiring to your home or office's electrical panel according to the wiring diagram provided in the user manual. Double-check polarity and wire gauge recommendations to prevent overheating or damage.
Step 4: Connect the Load Output
Connect the inverter's output terminals to the circuits or appliances you want backed up. For a 12V lithium battery inverter, this typically covers lighter loads like lights and fans; for a 24V lithium battery inverter, you can support heavier household or commercial appliances.
Step 5: For Hybrid Solar Models — Connect Solar Panels
If you're installing a PWM or MPPT hybrid solar inverter, connect your solar panel array to the designated solar input terminals. Ensure panel voltage and current ratings match the inverter's specifications:
- PWM models work well with simpler, smaller solar arrays.
- MPPT models can handle a wider voltage range and extract more power from larger arrays.
Step 6: Power On and Test
Once all connections are secure, switch on the mains supply first, then power on the inverter. Check the display or indicator lights to confirm the battery is charging and the output is stable. Test with a small load before connecting your full household or commercial setup.
Step 7: Monitor Initial Charging Cycle
Allow the inbuilt lithium battery to complete its first full charge cycle before relying on it for backup power. This helps calibrate the battery management system for accurate charge level readings going forward.
Common Installation Mistakes to Avoid
- Installing in direct sunlight or poorly ventilated spaces
- Incorrect wire gauge causing voltage drop or overheating
- Mismatched solar panel specifications with PWM/MPPT input ratings
- Skipping the initial full charge cycle
- Overloading the inverter beyond its rated VA capacity
Amazon Availability (Single Unit Purchase)
Lento Inverters and Online UPS are available on Amazon, allowing you to:
- Buy single units
- Compare features and pricing
- Check customer reviews
- Get home delivery
This makes Lento products a convenient and reliable choice for homes, offices, and businesses across India.
Frequently Asked Questions
Q1. Can I install a Lento lithium battery inverter myself?
Basic setup steps are straightforward, but we recommend a certified electrician handle wiring connections, especially for commercial-grade or hybrid solar installations.
Q2. Where should I place my lithium battery inverter?
Choose a cool, dry, well-ventilated space away from direct sunlight and moisture, with clearance around the unit for airflow.
Q3. Do PWM and MPPT inverters install differently?
The core installation steps are similar, but MPPT inverters can accept a wider solar panel voltage range, while PWM inverters need closer panel-to-battery voltage matching.
Q4. How long does the initial lithium battery charge take?
This varies by model and capacity, but it's important to let the battery complete its first full charge cycle before regular use.
Q5. Where can I buy a Lento lithium inverter for installation?
You can order directly from Lento Industries or purchase a single unit via the Lento Amazon Store.
Conclusion
Installing a Lento inbuilt lithium battery inverter correctly — from choosing the right model and placement to proper wiring and initial charging — ensures years of safe, efficient performance. Whether it's a sine wave inverter installation for household backup or a hybrid solar inverter installation for off-grid solar power, following these steps (with professional help where needed) sets you up for reliable, eco-friendly energy backup.
📧 Email: info@lentoindia.com
📞 Domestic: +91 9311811396 | International: +91 9810173869 | Toll Free: 18003130746
Read More:-
Best Inbuilt Lithium Ion Battery Inverter Company in India
What Is Inbuilt Lithium Battery Inverter?
Top Rated Lithium Battery Inverters
Lithium Battery Inverter Reviews
Lithium Battery Manufacturers in India
Lithium Battery Inverter Features to Compare
Inbuilt Lithium Battery Inverter OEM Manufacturer in India
Top 10 Inverter Brands in India (2026)
Best Inbuilt Lithium Ion Battery Inverter Company in India Price List