
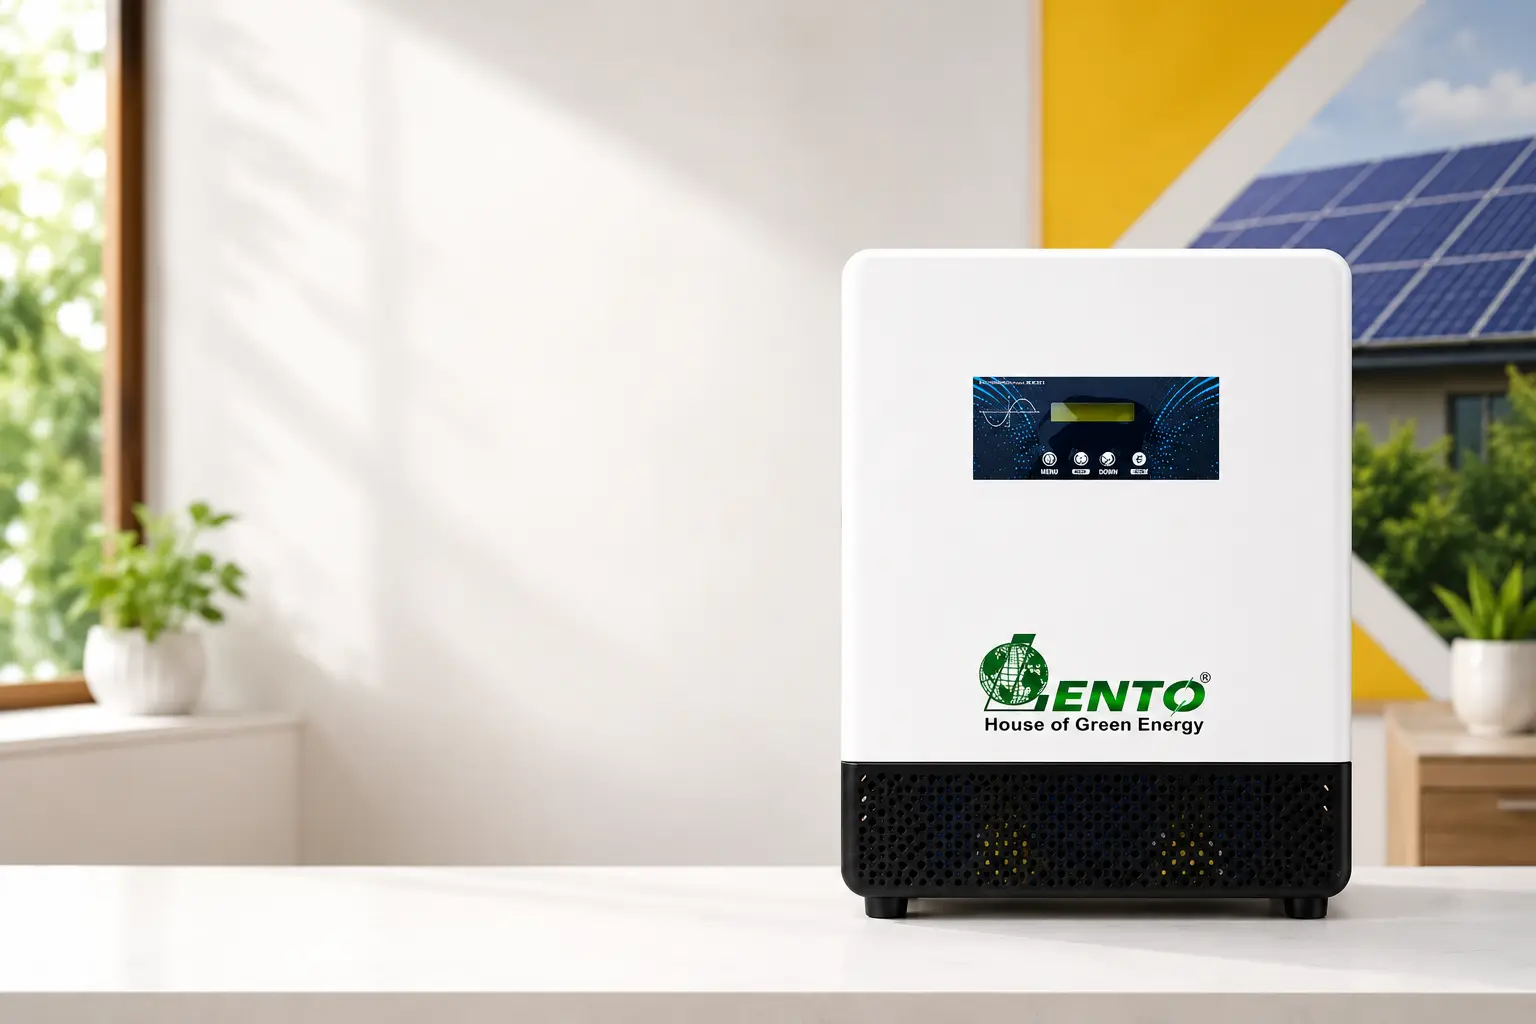
How to Install an Inbuilt Lithium Battery Inverter: Step-by-Step Guide
25 September 2026
Installing an inbuilt lithium battery inverter requires the right model, suitable placement, correct electrical connections, and proper testing. Unlike a conventional inverter and external battery setup, an inbuilt lithium inverter combines the inverter and lithium battery in one unit, which can simplify installation and reduce the number of separate components.
This guide explains the important steps involved in inbuilt lithium battery inverter installation, including model selection, placement, mains connection, load connection, solar connection for hybrid models, testing, and safety checks.
Important: Electrical and solar connections should be carried out by a qualified electrician or authorized technician. Do not open the inverter or attempt internal wiring yourself. Always follow the specific wiring diagram and installation instructions supplied with your model.
Before Installing an Inbuilt Lithium Battery Inverter
Before starting the installation, check these points:
- Confirm the inverter's VA rating is suitable for your connected load.
- Check the battery voltage of the model.
- For solar models, check the permitted PV voltage, current, and solar power.
- Keep the installation area dry and well ventilated.
- Make sure mains power is switched off before electrical connections are made.
- Use the recommended cable size, protection devices, and earthing arrangement specified in the product manual.
- Keep the inverter away from water, excessive heat and flammable materials.
- Keep the user manual available during installation.
The exact connection procedure can vary between models, so the product manual should always take priority over a general installation guide.
Step 1: Select the Right Lento Inbuilt Lithium Battery Inverter
The first step is choosing an inverter that matches your load and backup requirements.
Lento's inbuilt lithium inverter range includes models around 1.1kVA, 2.1kVA and 2.5kVA, with different configurations for home backup and solar applications.
Inbuilt Lithium Battery Inverter
| Model | Battery | Rated Capacity | Typical Use |
|---|---|---|---|
| 1.1kVA | 12.8V, 100Ah lithium | 1100VA | Home backup |
| 2.1kVA | 25.6V, 100Ah lithium | 2100VA | Larger home loads |
| 2.5kVA | 25.6V, 100Ah lithium | 2500VA | Higher household loads |
For the latest specifications, check the relevant Lento inbuilt lithium battery inverter product page before installation.
Solar Inbuilt Lithium Battery Inverters
Lento also offers solar configurations using PWM and MPPT solar charging technology.
For example, the current range includes:
- 1.1kVA / 12.8V
- 2.1kVA / 25.6V
- 2.5kVA / 25.6V
For solar models, do not connect panels until you have checked the inverter's PV input limits.
See the Lento Solar Inverter with Inbuilt Lithium Battery MPPT range for model-specific specifications.
Step 2: Choose the Correct Installation Location
Location is important for both performance and safety.
Install the inverter in a:
- Cool and dry area
- Well-ventilated location
- Dust-free environment
- Place protected from direct sunlight
- Location away from water and moisture
- Position with sufficient space around the inverter for airflow
- Stable wall or surface capable of supporting the unit
Do not install the inverter inside a completely enclosed cabinet unless the installation design specifically provides adequate ventilation.
For wall-mounted models, use the mounting arrangement specified by the manufacturer. For floor or wheeled models, place the unit on a stable, level surface.
Step 3: Switch Off the Electrical Supply
Before making any electrical connection:
- Switch off the mains supply.
- Isolate the relevant circuit.
- Confirm that the electrical connection is de-energized.
- Follow the safety procedure specified by your electrician and the product manual.
Do not connect or disconnect wiring while the system is energized.
For commercial or higher-capacity installations, professional installation is strongly recommended.
Step 4: Connect the AC Input
The AC input connects the inverter to the mains supply.
The electrician should connect the input according to the wiring diagram supplied with the specific Lento model.
During this step, check:
- Input voltage compatibility
- Correct polarity
- Correct cable size
- Proper protection devices
- Proper earthing
- Tight and secure terminals
Do not guess terminal connections based on another inverter model. Always use the wiring diagram for the exact model being installed.
Step 5: Connect the Backup Load
The next step is connecting the appliances or circuits that will receive backup power.
Depending on the inverter capacity, the backup load may include appliances such as:
- LED lights
- Fans
- Television
- Wi-Fi router
- Computer
- Refrigerator
- Other compatible household loads
The total connected load should remain within the inverter's rated output.
For larger systems, the electrician can create a dedicated backup circuit rather than connecting the entire building load.
Do not overload the inverter
An inverter's VA rating does not mean every appliance can be connected without checking its actual power requirement.
High-starting-current appliances such as motors, pumps, refrigerators and other inductive loads require additional consideration.
Step 6: Connect Solar Panels for Solar Models
If you are installing a Lento solar hybrid inverter, the solar panels are connected to the dedicated PV input.
Before connecting the panels, check:
- Maximum PV voltage
- Maximum PV current
- Recommended solar power
- Panel configuration
- Polarity
- PV cable requirements
PWM vs MPPT
Both PWM and MPPT solar charge controllers are used in solar inverter systems, but their operating characteristics are different.
PWM:
Generally used in simpler solar configurations where the panel and battery voltage arrangement is designed to work together.
MPPT:
Allows the solar charging system to operate across a wider input range and can improve solar energy harvesting under suitable operating conditions.
Do not assume that a panel configuration suitable for a PWM model will also be suitable for an MPPT model. Always check the specifications of the exact inverter.
Step 7: Check All Connections Before Powering On
Before switching the system on, the installer should check:
- AC input connections
- Backup output connections
- Solar connections, if applicable
- Earthing
- Cable tightness
- Polarity
- Protection devices
- PV voltage
- Connected load
- Ventilation around the inverter
This final inspection can help identify wiring errors before the inverter is energized.
Step 8: Power On and Test the Inverter
Once the installation has been checked, the electrician can energize the system according to the manufacturer's startup procedure.
Check the inverter display for information such as:
- Input supply
- Output supply
- Battery status
- Charging status
- Solar input, where applicable
- Warning or fault indicators
Start with a small compatible load and confirm that the output is stable before connecting the complete backup circuit.
Step 9: Check the Lithium Battery Charging
For an inbuilt lithium battery inverter, the battery is already integrated into the unit.
After startup, check that the battery is charging correctly from the available charging source.
Depending on the model and operating conditions, charging time can vary. Do not use a fixed charging-time assumption for every inverter.
The inverter's display or monitoring system should be used to check charging status.
Common Installation Mistakes to Avoid
Avoid these common mistakes when installing an inbuilt lithium battery inverter:
1. Installing the inverter in a closed space
Poor ventilation can cause unnecessary heat buildup.
2. Connecting incompatible solar panels
The PV voltage and current must remain within the inverter's specified limits.
3. Using undersized cables
Incorrect cable sizing can result in voltage drop and excessive heating.
4. Connecting too much load
The connected load should remain within the inverter's rated capacity and should also account for appliance starting currents.
5. Ignoring earthing
Proper earthing is an important part of a safe electrical installation.
6. Guessing the wiring
Different inverter models can have different terminal arrangements. Always use the exact product manual.
7. Installing near water or excessive heat
Moisture and excessive temperature can negatively affect electrical equipment.
8. Attempting internal battery repairs
An inbuilt lithium battery system contains electrical and battery-management components that should only be serviced by qualified personnel.
Can You Install an Inbuilt Lithium Battery Inverter Yourself?
The physical placement of an inverter may appear simple, but the AC, backup and solar electrical connections should be handled by a qualified electrician or authorized technician.
This is particularly important for:
- Hybrid solar inverters
- Higher-capacity inverters
- Commercial installations
- New electrical circuits
- Solar PV installations
- Installations requiring changes to the distribution board
A professional installation also helps ensure that the correct protection, cable sizing and earthing arrangements are used.
Where Should an Inbuilt Lithium Inverter Be Installed?
The ideal location should be:
- Dry
- Cool
- Well ventilated
- Easily accessible for monitoring
- Away from direct sunlight
- Away from water
- Away from flammable materials
- Suitable for the weight and mounting requirements of the inverter
Avoid placing the inverter where it can be exposed to rain, flooding or continuous high temperatures.
What Is Different About Installing an Inbuilt Lithium Inverter?
The main difference is that the lithium battery is integrated into the inverter system.
With a conventional setup, the installer generally has to deal with:
Inverter + external battery + battery cables + battery connections
With an inbuilt lithium system, the battery is integrated into the product, reducing the number of external battery connections.
However, AC wiring, load connections and solar PV connections still need to be installed correctly.
Installation Checklist
Before handing over the system, check the following:
| Check | Status |
|---|---|
| Correct inverter model selected | ✓ |
| Installation location suitable | ✓ |
| Mains input connected correctly | ✓ |
| Backup load connected correctly | ✓ |
| Earthing checked | ✓ |
| Solar PV checked, if applicable | ✓ |
| PV voltage within specification | ✓ |
| Cable connections tightened | ✓ |
| Inverter powered on correctly | ✓ |
| Battery charging checked | ✓ |
| Backup load tested | ✓ |
| No warning or fault indication | ✓ |
Frequently Asked Questions
How do you install an inbuilt lithium battery inverter?
Installation generally involves selecting the correct model, choosing a suitable location, connecting the AC input and backup load, connecting solar panels for solar models, checking earthing and protection, and testing the system. Electrical connections should be completed by a qualified professional.
Can I install a lithium battery inverter myself?
The physical placement may be straightforward, but AC and solar wiring should be handled by a qualified electrician or authorized technician. Follow the installation manual supplied with the specific inverter.
Where should a lithium battery inverter be installed?
Install it in a cool, dry and well-ventilated location away from direct sunlight, water, excessive dust and flammable materials.
Can an inbuilt lithium inverter be connected to solar panels?
Yes, solar-enabled models can be connected to solar panels, provided the panel configuration stays within the inverter's specified PV voltage, current and power limits.
What is the difference between PWM and MPPT solar inverter installation?
The basic installation process is similar, but the solar panel configuration and allowable PV input parameters can differ. Always check the specifications of the particular PWM or MPPT inverter before connecting panels.
What should I check before switching on the inverter?
Check the AC input, backup output, earthing, cable connections, polarity, protection devices and, for solar models, the PV voltage and polarity. The installer should also verify that the connected load is suitable.
How long does it take to install an inbuilt lithium battery inverter?
Installation time depends on the inverter model, wiring condition, backup circuit, solar connection and site requirements. A simple replacement can take less time than a new solar or commercial installation.
Buy a Lento Inbuilt Lithium Battery Inverter
Lento offers inbuilt lithium battery inverter options for home and other applications, including different capacity and solar configurations.
For single-unit purchases, you can also check the Lento Amazon Store to compare available models, pricing and customer reviews.
For product specifications, see the Lento inbuilt lithium inverter range.
Final Thoughts
Installing an inbuilt lithium battery inverter is not simply about connecting an inverter and switching it on. The right model, installation location, electrical protection, cable sizing, load capacity and solar specifications all matter.
For a Lento inbuilt lithium battery inverter, follow the installation manual for the exact model and use a qualified electrician or authorized technician for electrical and solar connections. Proper installation helps the system operate safely and makes it easier to monitor and maintain over time.
Contact Lento
Email: info@lentoindia.com
Domestic: +91 9311811396
International: +91 9810173869
Toll Free: 18003130746
Read More
- Best Inbuilt Lithium Ion Battery Inverter Company in India
- What Is an Inbuilt Lithium Battery Inverter?
- Top Rated Lithium Battery Inverters
- Lithium Battery Inverter Features to Compare
- Inbuilt Lithium Battery Inverter OEM Manufacturer in India